

Happy Halloween! My cousin just welcomed a brand new sweet baby boy into the world and had asked me to make her something that could work for Halloween night for a newborn. Despite not-so-great pictures, it turned out great! So I'm sharing the pattern!
Please note that all commenting has been closed, please go to my new website www.homemadebygiggles.com to this post and comment there instead!
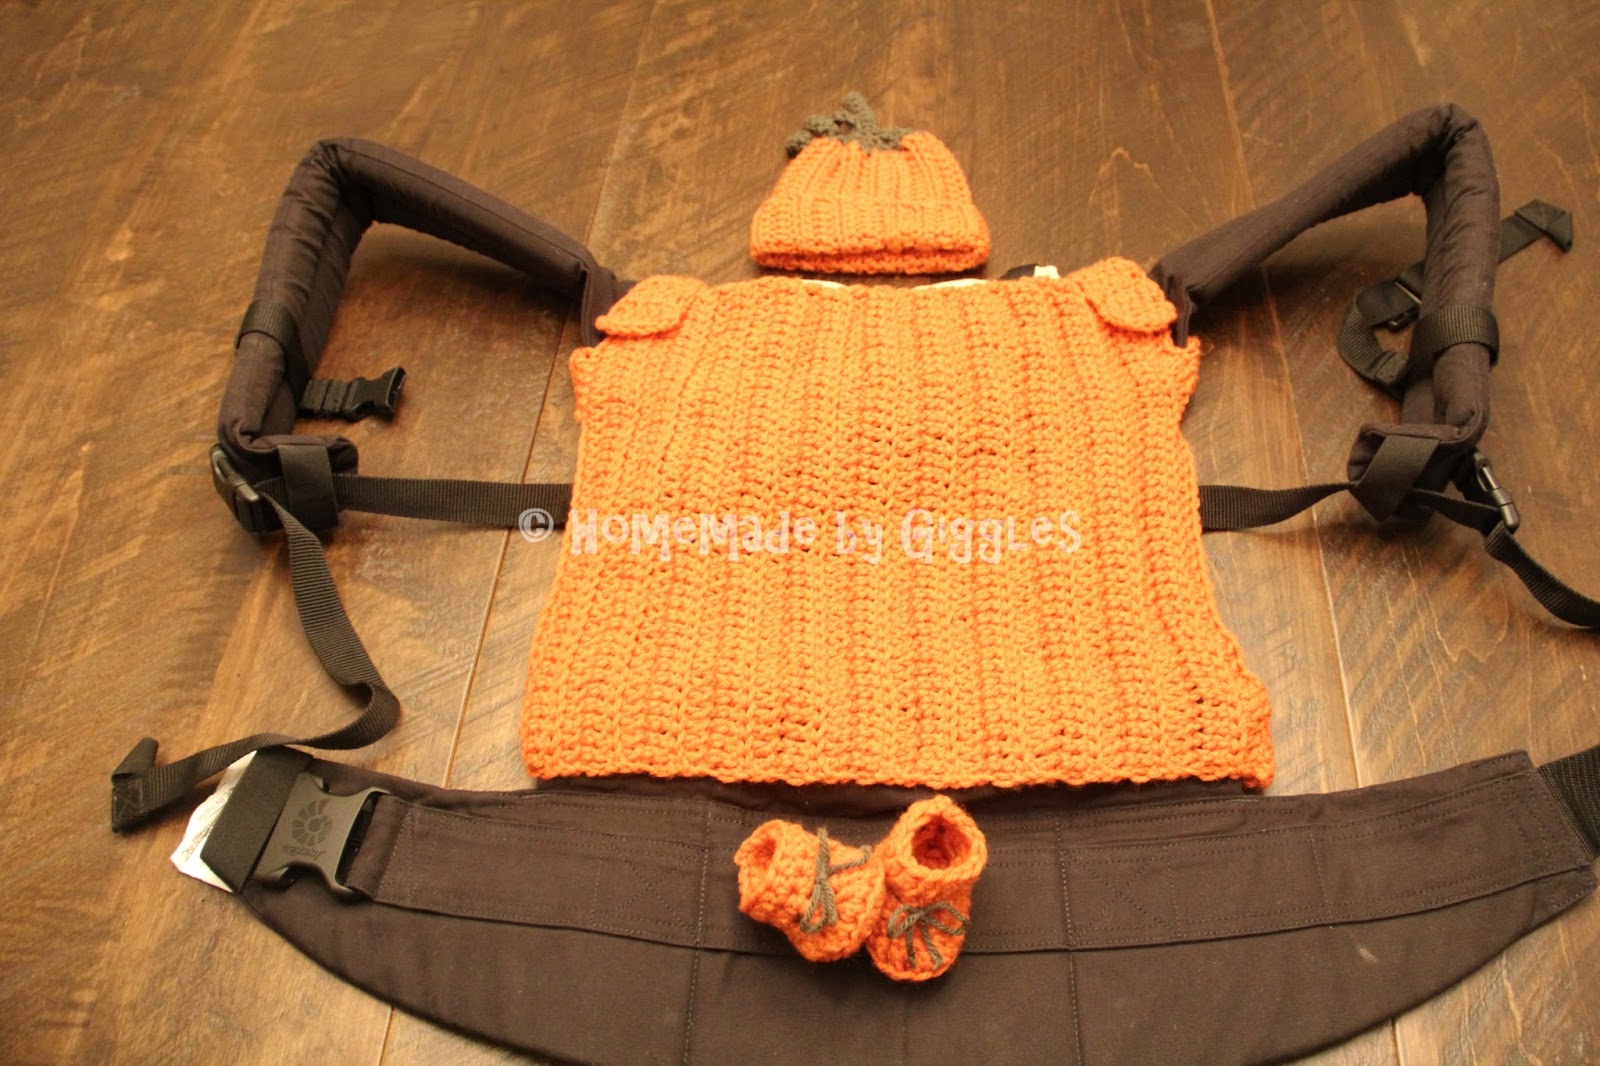
She sent me this picture from the web (someone comment if you know its source!!) and I'm hoping she'll send me a picture of the set being used (hint hint)! I don't have a baby small enough to try it out with myself anymore.

I'm sharing the pattern! I can't wait to show her and see pics of it in action! Now, this was made to work with an Ergo baby carrier. It's best to adjust the pattern to work for your carrier - make sure you have the carrier to use to fit it!
Materials:
- 5.5 mm crochet hook
- Worsted weight yarn
- I used Loops & Threads Impeccable Solids from Michaels
- Pumpkin: ~200 yds
- Deep Forest: ~20 yds
- Tapestry Needle
- Small amount of Velcro
PATTERN:

Carrier Cover:
Row 1: ch 43, dc in 3rd ch from hook and across (42 st, including the starting 2 ch as a dc)Row 2: ch 2, dc in the back loops only across, ending in the top of the ch2 from previous row (42 st)
Rows 3-23: repeat row 2
Fasten off
Top Strap Bands: (make 2)
Row 1: ch 7, hdc in 3rd ch from hook and across (6 st, including the starting 2 ch as an hdc)
Row 2: ch 2, dc across, ending in the top of the ch2 from previous row (6 st)
Rows 3-15: repeat row 2
Fasten off
Bottom Band: (make 1)
Row 1: ch 7, hdc in 3rd ch from hook and across (6 st, including the starting 2 ch as an hdc)
Row 2: ch 2, dc across, ending in the top of the ch2 from previous row (6 st)
Rows 3-35: repeat row 2
Fasten off
Carrier Cover Assembly:
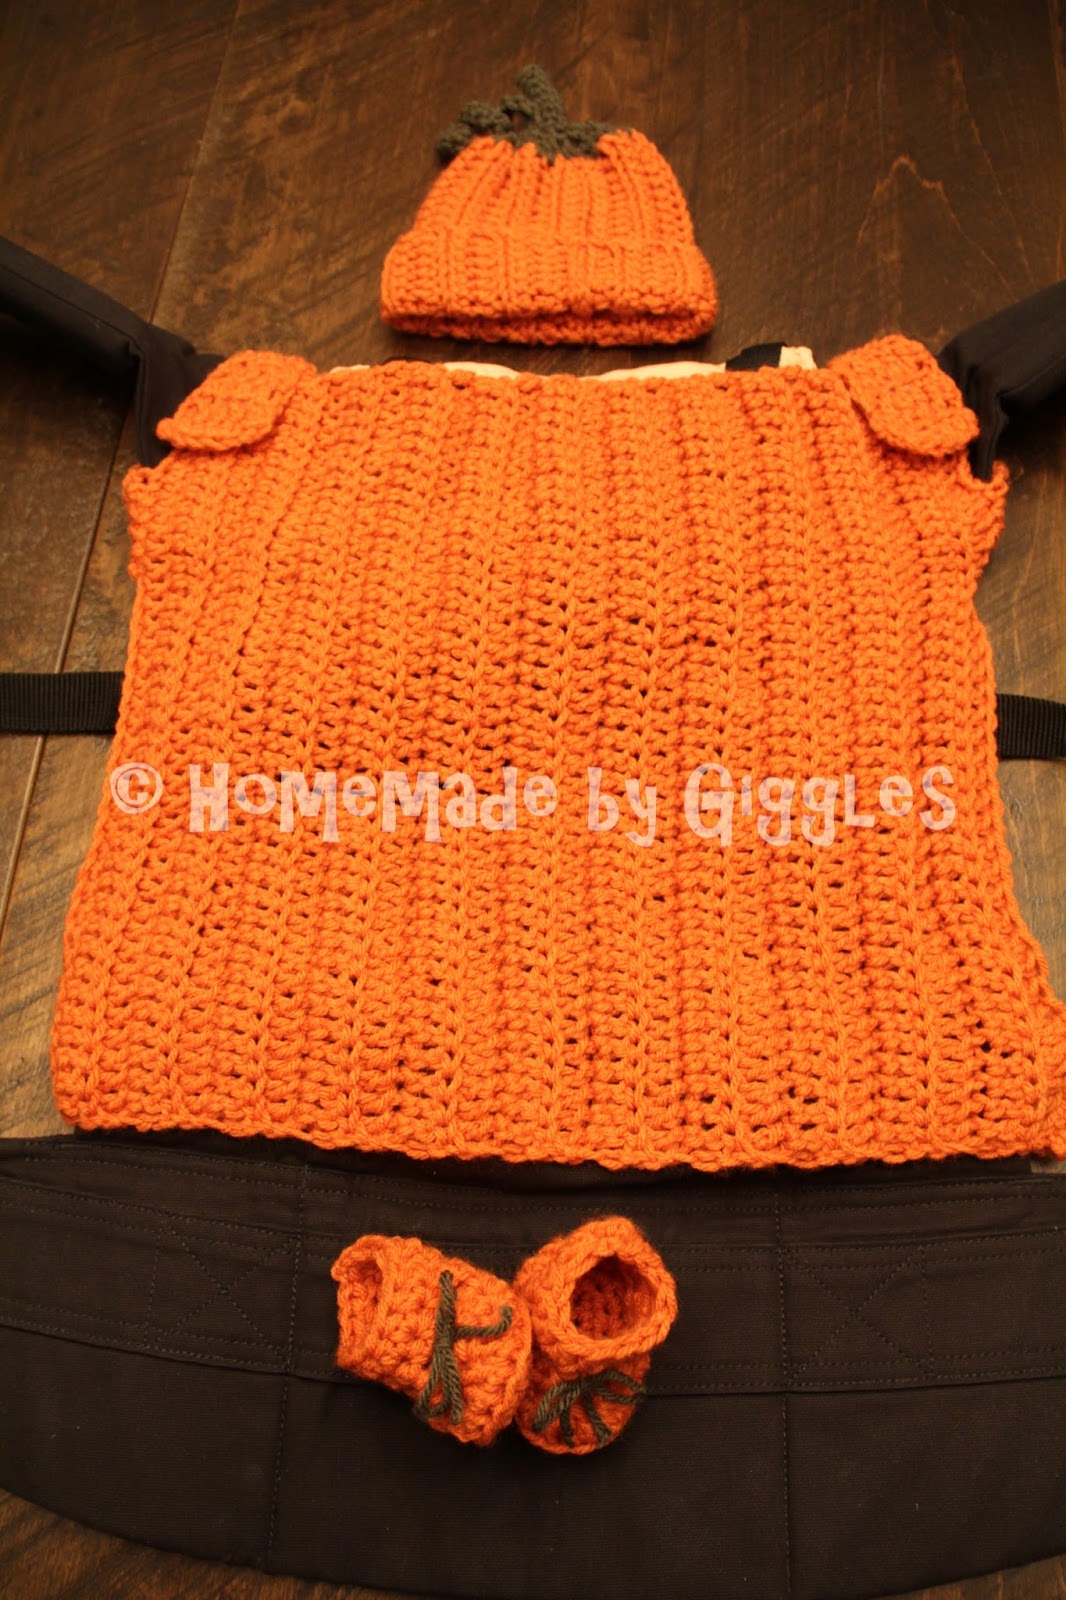
Attach bottom band to carrier cover as shown. The item is reversible so it doesn't matter what side you attach it to, just make sure the stitches are vertical to mimic a pumpkin!
For the top strap bands, use your carrier as a guide. I attached mine along stitches 8-14 of the edging row. Then I sewed the velcro pieces in place so that the top strap bands wrap around the Ergo strap and secure onto the top front corner of the carrier cover.


Booties: (make 2)
Note that in the st counts in the rounds, the 2ch from the start of each round is NOT counted in the overall st count.
Round 1: ch 8, hdc in 3rd ch from hook, hdc in next 4 st, 3 hdc in last st, turn to work on the back of the ch, hdc in next 4 st, 2 hdc in next st, sl st into top of 2ch from start of round (14 st)
Round 2: ch 2, hdc in next 5 st, 2 hdc in each of the next 3 st, hdc in next 5 st, 2 hdc in each of the next 3 st, sl st into top of 2ch from start of round (22 st)
Round 3: ch 2, hdc in the back loops of the next 6 st, hdc2tog in the back loops 3 times, hdc in the back loops of the next 9 st (19 st)
Round 4: ch 2, hdc in next 5 st, hdc2tog, hdc, hdc2tog, hdc in next 6 st, hdc2tog, hdc, sl st into top of 2ch from start of round (16 st)
Round 5: ch 2, hdc in next 14 st, hdc2tog, sl st into top of 2ch from start of round (15 st)
Round 6: ch 2, hdc in next 13 st, hdc2tog, sl st into top of 2ch from start of round (14 st)
Fasten off
I then wove some green yarn through the top of Round 4/bottom of Round 5 and tied it in a bow at the front.


Hat:
For the hat, I used this pattern: Baby Pumpkin Crochet Hat exactly as it was written and I think it worked out GREAT!


And that's it! I hope you enjoy this pattern. Leave a comment!


Link to pattern on Ravelry: Pumpkin Baby Carrier Set
Please feel free to make and sell items made from this pattern, but please link back to my post if you do. Please do not copy my pattern and claim it as your own, or publish the pattern elsewhere without permission. Happy crafting!
Please note that all commenting has been closed, please go to my new website www.homemadebygiggles.com to this post and comment there instead!